
Are you a fan of Sorel suede boots? These stylish and durable boots are perfect for keeping your feet warm during the colder months.
How to clean sorel suede boots can seem daunting at first, but with the right techniques and materials, you can effortlessly maintain their appearance and durability. Suede is a delicate material that requires gentle handling, and understanding the unique needs of your Sorel boots is essential for keeping them looking their best.
In this guide, we will provide step-by-step instructions on properly cleaning and caring for your suede boots, ensuring they remain a stylish and functional part of your wardrobe for years to come. Whether you’ve just acquired a new pair or want to revive an older set, these tips will help you handle the cleaning process confidently and carefully.
What Will You Need?
Before diving into the cleaning process, gathering all the necessary materials is essential. Here are some items you’ll need to clean your Sorel suede boots:
- Soft-bristled brush or toothbrush
- A suede eraser or a rubber pencil eraser
- White vinegar
- Water
- Clean cloth or sponge
- Waterproofing spray (optional)
Once you have all these materials, you can start cleaning your Sorel suede boots.
10 Easy Steps on How to Clean Sorel Suede Boots
Step 1: Remove Dirt and Debris
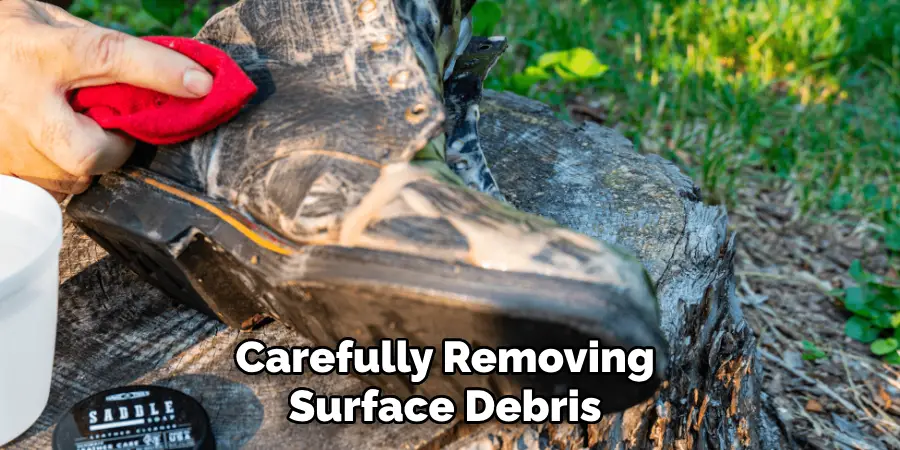
The first step in cleaning your Sorel suede boots is to remove any surface dirt and debris. Begin by using a soft-bristled brush or a clean toothbrush to gently brush away loose dirt from the surface of the boots. Ensure you brush in the same direction consistently to avoid damaging the delicate suede fibers.
This process helps lift dirt without embedding it further into the material. If your boots appear heavily soiled, take your time to thoroughly brush all areas, including crevices and seams, where dirt can accumulate. By carefully removing surface debris, you’ll be setting a strong foundation for the subsequent cleaning steps, allowing the products and techniques you use next to be more effective.
Step 2: Address Stains with a Suede Eraser
Once the surface dirt has been removed, the next step is to tackle any stains that may have set into the suede. Use a suede or a rubber pencil eraser to gently rub over the stained areas. Apply light pressure and make circular motions, being careful not to rub too harshly as this could damage the suede.
This technique should help lift minor stains and restore the fabric’s texture. In cases where the stains are more stubborn, you may need to repeat this step several times. By using an eraser, you’re addressing the imperfections without needing excessive moisture, preserving the integrity of your Sorel suede boots.
Step 3: Tackle Stubborn Stains with Vinegar
If stains persist after using a suede eraser, the next step involves using white vinegar and water. Prepare a solution by mixing equal parts white vinegar and water in a small bowl. Dampen a clean cloth or sponge with the vinegar solution, then gently blot the stained area.
Avoid saturating the suede, as too much moisture can damage the material. Instead, lightly apply the solution and blot repeatedly until the stain lifts. The acetic acid in vinegar acts as a gentle cleaner that can break down grime without harming the suede. Allow your boots to dry completely before proceeding to the next step, ensuring the vinegar odor dissipates.
Step 4: Allow to Dry Naturally
After addressing any stains with vinegar, it’s crucial to let your Sorel suede boots dry naturally. Place them in a well-ventilated area away from direct sunlight and direct heat sources such as radiators or heaters, which can cause the suede to dry too quickly and potentially damage its texture and shape.
It’s essential not to use any artificial heat sources, as these can leave your boots stiff and shriveled. Allowing them to air dry at room temperature will help maintain their form and keep the suede supple. This drying period is essential before further cleaning or protection steps to ensure the best results.
Step 5: Brush to Restore Texture
Once your Sorel suede boots have dried completely, it’s time to restore the texture of the suede. Use a soft-bristled brush to work gently over the surface of the shoes. Brush consistently to re-fluff the suede fibers and regain their original texture.
This process helps refresh the boots’ appearance and ensures that the suede remains soft and supple. Be gentle during this step to avoid damaging the suede, mainly if it has been previously stained or wetted. Regular brushing also helps in maintaining the suede between cleanings, providing a lush and appealing look to your boots.

Step 6: Apply Waterproofing Spray
To protect your freshly cleaned Sorel suede boots from water damage and future stains, consider using a waterproofing spray explicitly designed for suede materials. Ensure that your shoes are completely dry before applying the spray. Hold the waterproofing spray at a distance of about six to eight inches from the surface of the boots, and apply an even coat.
Ensure you cover the entire surface, including seams and stitching, for thorough protection. Allow the waterproofing spray to dry entirely per the product’s instructions before wearing the boots. Regularly applying a waterproofing spray can help extend the life of your shoes, keeping them in excellent condition through various weather conditions.
Step 7: Proper Storage
Once your Sorel suede boots are clean and protected, the next consideration is proper storage to ensure they maintain their shape and appearance when not in use. Store your boots in a cool, dry place away from direct sunlight, as exposure to light and heat can cause fading and compromise the suede’s quality.
Consider using boot shapers or stuffing the boots with acid-free tissue paper to help them retain their form and prevent creasing. It’s also a good idea to store them in their original box or a dust bag, which will shield them from dust and dirt. Proper storage is a key step in preserving your suede boots’ premium look and feel over time.
Step 8: Maintain with Regular Cleaning
To keep your Sorel suede boots looking their best in the long term, it’s vital to incorporate regular cleaning into your routine. Adopt a habit of periodically checking for surface dirt and gently brushing it away, as outlined in Step 1. This prevents dirt from embedding into the suede, making stains harder to remove later on. If minor stains appear, address them quickly using a suede eraser or a gentle cleaning solution like the vinegar mixture described in previous steps.

Step 9: Refresh the Color
Over time, the color of suede boots can fade due to exposure to light and the elements. To rejuvenate the color of your Sorel suede boots, consider using a suede-specific dye or color-renewal spray. Before applying any product, ensure that the boots are clean and dry. Conduct a patch test on an inconspicuous area to ensure the color matches and does not damage the material.
Apply the dye or spray evenly over the entire boot, using even strokes to avoid streaks. Allow the boots to dry thoroughly in a well-ventilated area away from direct sunlight. This step can breathe new life into your suede boots, enhancing their appearance and overall aesthetic. Regular color refresh can keep your boots looking vibrant and closer to their original shade.
Step 10: Conditioning the Suede
As a finishing touch in maintaining the longevity and quality of your Sorel suede boots, consider applying a suede conditioner. Conditioning the suede helps to keep the material soft and supple, preventing it from becoming dry and brittle over time. Choose a conditioner specifically designed for suede to ensure compatibility.
Begin by testing the conditioner on a small, inconspicuous area of the boot to ensure it does not alter the color or texture negatively. After confirming its suitability, apply the conditioner evenly across the surface using a clean cloth, following the product instructions meticulously.
Allow the boots to dry naturally before using, storing, or wearing them. This conditioning step enriches the suede’s texture and enhances its durability, ensuring your shoes remain a staple in your wardrobe for many seasons.
Following these ten steps, you can effectively clean, protect, and maintain your Sorel suede boots, preserving their quality and appearance for years.
Conclusion
In conclusion, maintaining your Sorel suede boots requires a careful and consistent approach to ensure they remain pristine.
By adhering to the ten detailed steps outlined above, you can effectively clean, protect, and preserve the quality and appeal of these boots for years to come. Regular brushing and cleaning help protect against dirt and stains while waterproofing and proper storage further safeguard against the elements.
Conditioning and occasional color refresh ensure the suede maintains its soft texture and vibrant hue. With these practices regularly applied, your Sorel suede boots will continue to be a fashionable and durable addition to your wardrobe.
Hopefully, the article on how to clean sorel suede boots has been helpful and informative. So go ahead and give your suede boots some love and care – they deserve it! Happy cleaning!