
Changing the spikes on your golf shoes is an essential maintenance task that can significantly impact your course performance. Over time, spikes can wear down, reducing traction and stability during your golf swing. By regularly replacing your golf shoe spikes, you ensure optimal grip on various terrains, which can help you maintain balance and improve your overall game.
This guide on how to change spikes on golf shoes will walk you through the step-by-step process of changing the spikes, ensuring you can perform this task with ease and precision.
Why Change Spikes on Golf Shoes?
Before we dive into the process of changing spikes, it’s essential to understand why this maintenance task is crucial. Here are some reasons why you should change spikes on your golf shoes regularly:
Improving Traction:
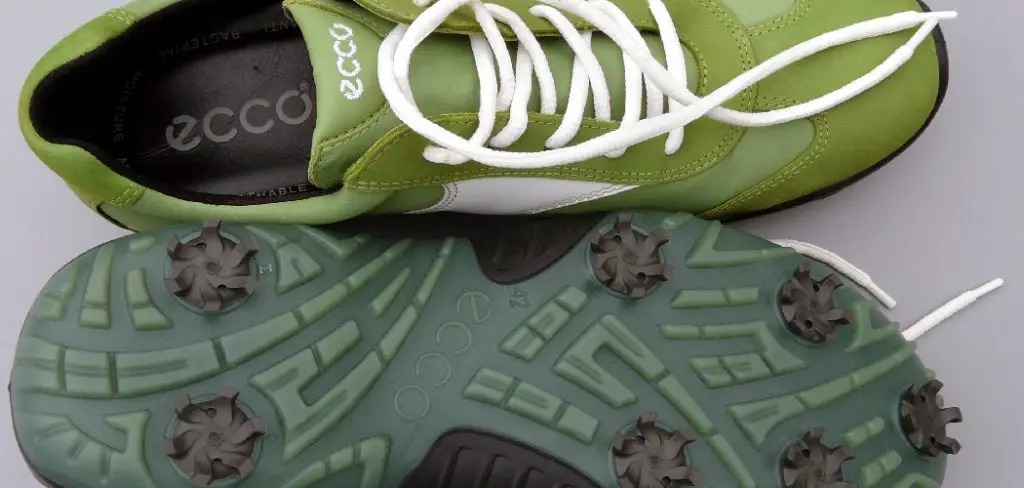
The primary function of golf shoe spikes is to provide grip and traction on various surfaces, including wet grass and uneven terrain. Over time, spikes can wear down or become damaged, making it challenging to maintain a stable stance during your swing.
Preventing Slipping:
Slipping while swinging not only affects your performance but also poses a safety risk. Worn-out spikes can reduce traction and cause you to lose balance, leading to slips and falls on the course.
Maintaining Shoe Life:
Regularly changing spikes helps extend the life of your golf shoes. As spikes deteriorate over time, they can cause damage to the sole of your shoe. By replacing them in a timely manner, you prevent potential shoe damage and prolong their overall lifespan.
Now that we understand the importance of changing spikes, let’s move on to the process itself.
8 Step-by-step Guidelines on How to Change Spikes on Golf Shoes
Step 1: Gather Necessary Tools
Before you start, make sure you have the following tools:
- A Pair of Pliers
- Replacement Spikes
- Spike Wrench (if Provided With Your Golf Shoes)

Step 2: Determine Spikes to be Changed
Examine the spikes on your golf shoes to determine which ones need to be replaced. Look for spikes that are worn down, damaged, or missing. It’s crucial to assess each spike individually, as not all of them may require replacement at the same time.
If your shoes have various types of spikes, it’s also a good idea to note the specific types you need to replace to ensure you have the correct replacements on hand. Once you have identified the spikes that need changing, you can move on to the next step in the process.
Step 3: Loosen the Old Spikes
Using the spike wrench or a pair of pliers, carefully insert the tool into the designated holes or slots on the spikes. For traditional threaded spikes, twist the wrench counterclockwise to loosen them. For modern twist-and-release spikes, you may need to apply a bit of downward pressure and turn them anticlockwise.
It’s essential to turn slowly and steadily to avoid stripping the spike or damaging your golf shoes. If a spike is particularly stubborn, try applying a small amount of lubricant to ease its removal. Continue this process until all identified old spikes are loosened sufficiently to be removed.
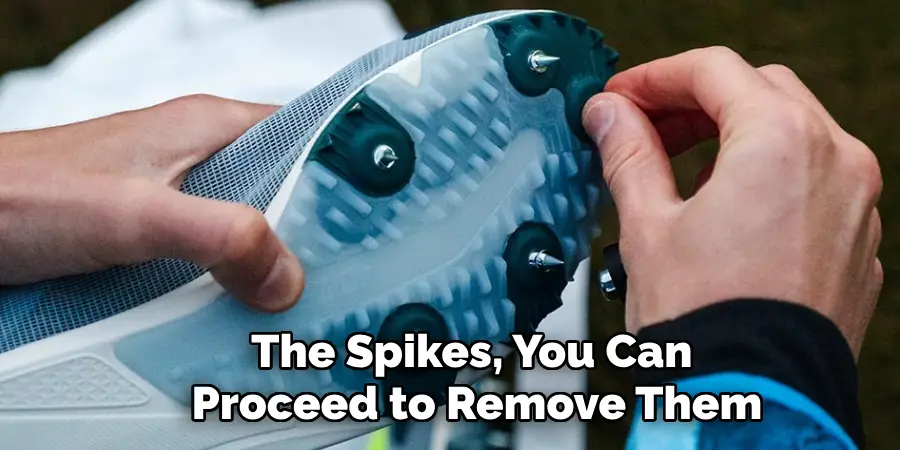
Step 4: Remove the Old Spikes
Once you have loosened the spikes, you can proceed to remove them from the shoe. Gently pull each spike out using the spike wrench or pliers, being careful not to force them if they are still slightly stuck. If any spikes remain stubborn, apply additional lubricant and give it a few moments to penetrate, then attempt removal again.
Place the old spikes aside, ensuring none are left in the soles. Proper removal of all old spikes is crucial to the stability of your new replacements and the overall integrity of the shoe’s sole.
Step 5: Prepare the New Spikes
Before installing the new spikes, it’s important to ensure they are clean and ready for attachment. Lay out all the replacement spikes and inspect them for any defects or debris. Check that the threads or locking mechanisms on each spike are intact and clear of any manufacturing residue. If necessary, use a small brush or cloth to clean any dust or dirt from the spikes.
If your replacement spikes come with specific installation instructions, take a moment to review them. Some spike designs may require pre-conditioning or specific alignment for proper attachment. Preparing your new spikes in this way ensures a smooth installation process and helps maintain the longevity of both the spikes and your golf shoes. Once all spikes are prepared, you are ready to move on to the installation step.
Step 6: Install the New Spikes
With your golf shoes and new spikes prepared, you can now begin installing the new spikes. Align each spike with its designated hole on the shoe’s sole and gently press it into place. Use your fingers to twist or push the spike in as far as it will go.
If necessary, use a small amount of force with the pliers or wrenches to fully seat each spike. Repeat this process for all new spikes until they are all installed securely onto the shoe.
Step 7: Tighten the Spikes
Using your pliers or spike wrench, gently tighten each newly installed spike. Twist each one clockwise until you feel resistance and can’t turn them anymore. Be careful not to over-tighten, as this can damage both the spike and the shoe. If your spikes come with specific torque recommendations, be sure to follow those guidelines.
You can also test the tightness of each spike by gently pulling on it. If it moves or comes out, it’s not securely tightened, and you should re-tighten before moving on to the next step.
Step 8: Clean Up and Check Spikes
Now that all new spikes are installed and secured take a moment to clean up any debris or lubricant residue from your shoe’s sole. Use a damp cloth or brush to wipe away any excess dirt, oil, or debris that may have accumulated during the installation process.
Once cleaned, give your shoes a quick visual check to ensure all spikes are installed correctly and evenly aligned with each other. Walk around on a flat surface to test the stability and feel of your new spikes. If any still feel loose, re-tighten them as needed.
Following these 8 simple steps on how to change spikes on golf shoes, you can easily change the spikes on your golf shoes and maintain their performance and longevity. Remember to regularly check and replace worn or damaged spikes to ensure a safe and enjoyable golf experience.

Frequently Asked Questions
Q: How Often Should I Change the Spikes on My Golf Shoes?
A: It’s recommended to change your spikes every 15-20 rounds of golf or every six months, whichever comes first. However, if you notice any significant wear or damage before that time, it’s best to replace them immediately. It’s also a good idea to check your spikes regularly for any signs of wear and tear, even if you haven’t reached the recommended replacement timeline.
Q: Can I Use Any Type of Replacement Spikes?
A: No, it’s important to use the specific type of replacement spikes designed for your golf shoes. Different shoe brands and models may have unique spike designs and sizes that are not interchangeable with other types of spikes. Using improper replacements can cause damage to your shoes or affect their performance on the course.
Q: Do I Need Any Special Tools to Change My Spikes?
A: While a spike wrench is often provided with golf shoes, pliers can also be used in its place. However, using the correct tool can make the process easier and less likely to cause damage to the shoe or spikes. It’s also recommended to have a small brush or cloth on hand to clean debris from the spikes before installation.
Q: Can I Change Spikes on My Own or Do I Need Professional Help?
A: You can change spikes on your own as long as you follow proper instructions and use caution during the process. If you are unsure or uncomfortable with changing spikes yourself, it’s best to seek professional help at your local golf shop. They will have experience and knowledge of different spike types and how to properly install them on various shoe models. So, always be careful when changing the spikes on your golf shoes, and enjoy a better grip and stability on the course. So, always be careful when changing the spikes on your golf shoes, and enjoy a better grip and stability on the course.

Conclusion
Maintaining the spikes on your golf shoes is an essential aspect of preserving both your footwear and your performance on the course. Regular inspection and timely replacement of worn or damaged spikes help ensure optimal traction and stability, which are critical for effective swings and overall gameplay.
By following the outlined step-by-step guide on how to change spikes on golf shoes, you can easily replace the spikes on your golf shoes and continue enjoying a safe and enjoyable golfing experience. Remember, taking care of small details like spike maintenance can significantly impact your comfort and success on the green.