Are you planning to try water sports? Proper footwear is essential for comfort and safety, whether you’re kayaking, paddleboarding, or just spending the day at the beach. Water shoes are specifically designed to provide protection and traction on wet surfaces while allowing your feet to breathe.
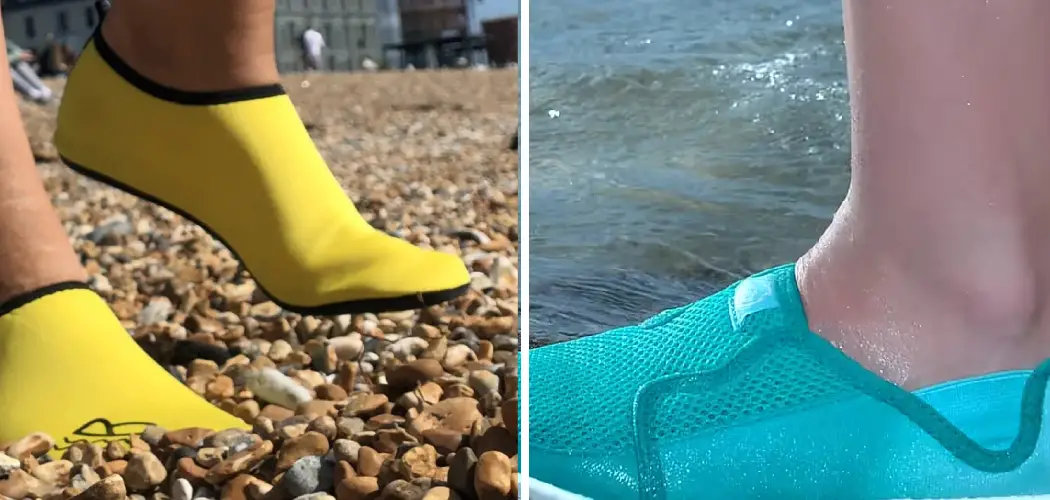
When selecting the perfect pair of water shoes, ensuring a proper fit is crucial for comfort and utility. Water shoes are designed to protect your feet in wet environments, providing grip and stability on slippery surfaces. A well-fitted water shoe should feel snug yet comfortable without pinching or causing discomfort. The shoe must stay securely on your foot even in swift currents, allowing for natural movement during aquatic activities.
Understanding how should water shoes fit is key to enhancing performance and preventing injuries during your adventures in and around water.
What Will You Need?
To ensure a proper fit, you will need the following items:
- A measuring tape
- A pair of water shoes (or the exact model if purchasing online)
- Socks or insoles (if planning to wear them with your water shoes)
Once these items are ready, follow the steps below to determine your perfect water shoe fit.
10 Easy Steps on How Should Water Shoes Fit
Step 1. Measure Your Foot Size:
Begin by measuring your foot size accurately. Use a measuring tape to find your foot’s length and width, preferably at the end of the day when your feet are slightly swollen to ensure a comfortable fit. Stand barefoot on a piece of paper, and use the measuring tape to trace or note the dimensions. It’s essential to measure both feet since they can slightly differ in size; always go with the measurement of the larger foot.

Repeat this step while standing, as your weight may affect the measurements. These dimensions will help you match your size with standard sizing charts and ensure a snug, secure fit when purchasing your water shoes. Keep in mind any future intentions to wear socks or insoles with your shoes, as this can affect the size needed.
Step 2. Check the Shoe Size Chart:
After obtaining your foot measurements, it’s time to consult the shoe size chart provided by the manufacturer. Each brand may have slight variations in their sizing, so it’s vital to refer to the chart specific to the brand you are considering. Align your foot’s length and width measurements with the size chart to determine the most appropriate size.
Consider any additional information or recommendations provided, such as if the shoes run small or large. It’s advisable to read customer reviews for insights on fit and comfort, as they can offer practical experiences regarding the sizing accuracy and adjustment for insoles or socks if you plan to use them. By cross-referencing your detailed measurements with the size chart, you can make an informed choice to ensure your water shoes offer the right fit for comfort and performance.
Step 3. Try the Shoes with Socks or Insoles:
Once you have selected the appropriate size using the shoe size chart, it’s time to try on the water shoes. If you plan to wear socks or insoles with them, ensure you do so during this fitting. The socks or insoles should not make the boots feel overly tight or restrictive; instead, they should enhance comfort without compromising fit. Walk around on various surfaces to test the shoes for any discomfort or areas that may rub.
Pay attention to the fit at the heel, as slippage can affect performance, and ensure the boots remain secure even when wet. Adjust if the shoes feel too loose or snug, as finding a balance is essential for optimal water sports performance.
Step 4. Assess the Shoe Flexibility and Support:
With the water shoes on, evaluate their flexibility and the support they offer. Bend and flex your foot as you would during various water activities, such as swimming or wading through water. The shoe material should allow a comfortable range of motion while providing adequate support to prevent foot fatigue or injury.

Ensure that the soles are sturdy enough to protect against rocks or sharp objects, yet flexible enough to allow for natural foot movement. It’s vital that the shoes balance flexibility and support, ensuring both safety and comfort during use. If the boots feel too rigid or flimsy, try another pair to find the right combination.
Step 5. Evaluate Water Drainage and Breathability:
After assessing flexibility and support, focus on the water drainage and breathability of the shoes. Effective water shoes should allow water to drain quickly and efficiently, preventing them from becoming heavy or uncomfortable when wet. Check for mesh panels or drainage holes that facilitate this process. Additionally, the shoe material should be breathable to help keep your feet dry and reduce the risk of blisters during extended wear.
Walk in a shallow body of water to test how quickly the shoes drain and dry. Suppose they stay noticeably saturated for too long, or you feel a lack of airflow. In that case, it might be worth considering a different pair that excels in these aspects for optimal performance in wet conditions.
Step 6. Test for Slip Resistance:
Ensuring that your water shoes have adequate slip resistance is crucial, especially when navigating wet and slippery surfaces. Examine the tread pattern on the soles and test the shoes in different environments, such as wet rocks, boat decks, or pool sides. The soles should provide good traction and help prevent slipping or falling. If you notice a lack of grip on any surface, be cautious and consider a different model with enhanced slip-resistant features.
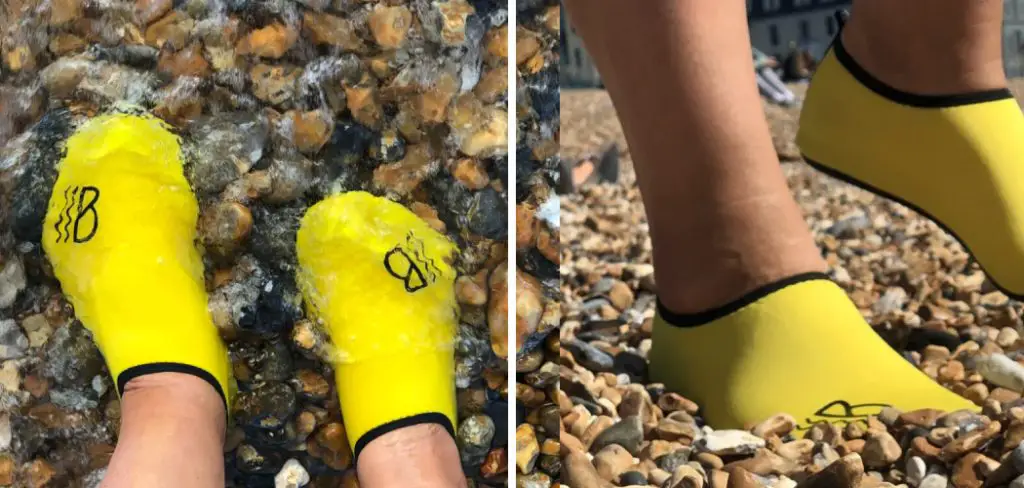
Step 7. Confirm the Fit When Wet:
To ensure that your water shoes maintain a secure fit when wet, it’s important to test them in conditions similar to those you will be using them in. Wear the shoes in water to see how they perform, as wet conditions can alter the fit and feel. Submerge the shoes fully, walk around, and gauge if the fit remains snug without becoming uncomfortable.
Wet conditions might cause the material to stretch slightly, so make sure the shoes do not become too loose, leading to potential discomfort or chafing. If the fit significantly changes, you might need to reassess the size or model to ensure they stay comfortably in place throughout your water activities. This step helps guarantee that your water shoes will provide reliable support and performance in the environments for which they are intended.
Step 8. Consider Longevity and Durability:
As you finalize your decision on water shoes, it’s essential to consider the longevity and durability of the footwear. Investigate the materials used in the construction of the shoes to ensure they can withstand exposure to water, sun, and rough terrains. High-quality materials and reinforced stitching often indicate a longer lifespan and more robust performance.
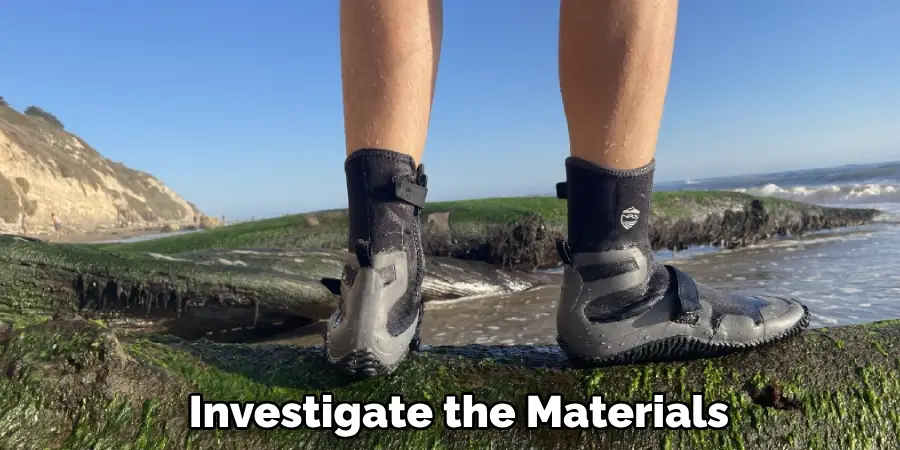
Additionally, check if the shoes come with a warranty or satisfaction guarantee, as these can provide reassurance of their durability. Investing in a pair that offers both durability and performance ensures that the shoes will serve you well for many adventures to come, saving you from frequent replacements and enhancing cost-effectiveness over time.
Step 9. Personalize Style and Aesthetic:
While functionality is paramount, pay attention to the style and aesthetics of your water shoes. There are numerous designs and color options available that cater to different tastes and preferences. Whether you prefer a sleek, minimalist look or vibrant, eye-catching patterns, there’s a style to match your personality and make your water activities more enjoyable.
Personalizing your choice enhances your experience and adds a sense of individuality to your gear. Consider how the shoes align with your overall outfit or intended use, whether for casual beach outings or more adventurous pursuits. Balancing practicality with personal style ensures that your water shoes not only perform well but also reflect your unique identity.
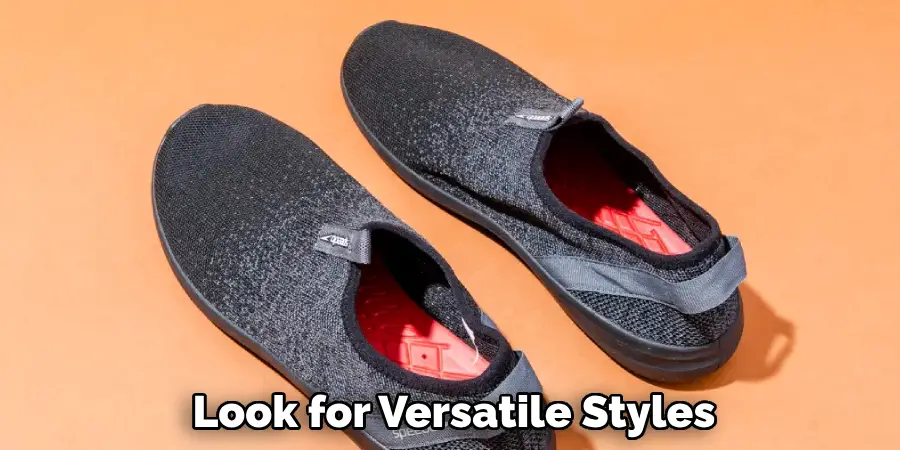
Step 10. Verify Compatibility with Activities:
Select water shoes that align with the specific activities you plan to undertake. Consider factors such as grip, support, and protection depending on whether you’ll be kayaking, snorkeling, or simply walking along the beach. Each activity may require different shoe attributes—such as enhanced sole traction for climbing rocks or more open designs for better ventilation during lighter activities.
Ideally, the shoes should complement and enhance your performance, offering safety and comfort tailored to the demands of your chosen pursuits. If you engage in multiple water activities, look for versatile styles that offer multifunctional use without compromising essential features. This thoughtful evaluation ensures that your water shoes are ideally suited to your water adventures, maximizing enjoyment and performance.
By following these ten steps, you can confidently select the best water shoes for your needs and preferences.
Conclusion
How should water shoes fit is crucial for ensuring both comfort and functionality. Ideally, water shoes should hug your feet snugly but not so tightly that they cause discomfort or restrict movement.
A proper fit will prevent the shoes from slipping off when wet while allowing enough flexibility for natural foot movement. Consider how the shoes feel both on land and in water, as the fit may differ in varying conditions. Attention should also be given to ensuring there is no excessive space that might lead to chafing or blisters during activities.
By prioritizing a fit that balances security, comfort, and flexibility, you can enjoy enhanced performance and protection across diverse aquatic environments.