
Are you tired of feeling uncomfortable in your boots? Do you struggle to find a pair that fits perfectly around your calf? Don’t worry, you’re not alone.
How should boots fit around the calf is essential for both comfort and style. Whether you’re wearing ankle boots, knee-highs, or over-the-knee styles, ensuring a proper fit can significantly improve your overall experience. Boots that fit well around the calf should be snug enough to provide support but not so tight that they restrict movement or cause discomfort.

A good fit also prevents the boots from slipping down or bunching, maintaining their appearance and function. Understanding the correct measurements and paying attention to details like stretch panels or adjustable features can help you achieve the perfect fit for any occasion.
What Will You Need?
To determine the ideal fit for your boots around the calf, you will need a few items:
- A measuring tape
- A pair of socks similar to those you plan on wearing with the boots
- The specific type of boots you want to measure
Once you have these items, follow the steps below to measure your calf and find the perfect fit for your boots.
10 Easy Steps on How Should Boots Fit Around the Calf
Step 1. Wear Your Socks:
Before measuring, it’s essential to wear socks similar to what you plan on wearing with your boots. This helps account for any additional space the socks might take up, ensuring a more accurate measurement. Choose socks that are neither too thick nor too thin, resembling the ones you’d typically pair with your boots. This step ensures the fit you assess will be realistic and comfortable for actual wear. Once your socks are on, you’re ready to move to the next step in finding your perfect boot fit around the calf.
Step 2. Measure Your Calf Circumference:
Take the measuring tape and wrap it around the widest part of your calf. Make sure the tape is level and not too tight. You want to ensure a snug fit without squeezing the skin, as wearing your boots should be comfortable. Record this measurement as it represents the maximum circumference your boots need to accommodate an ideal fit. Remember to measure both calves, as sometimes one leg can be slightly larger. Use the larger measurement to avoid discomfort from boots that fit too tightly on one leg.
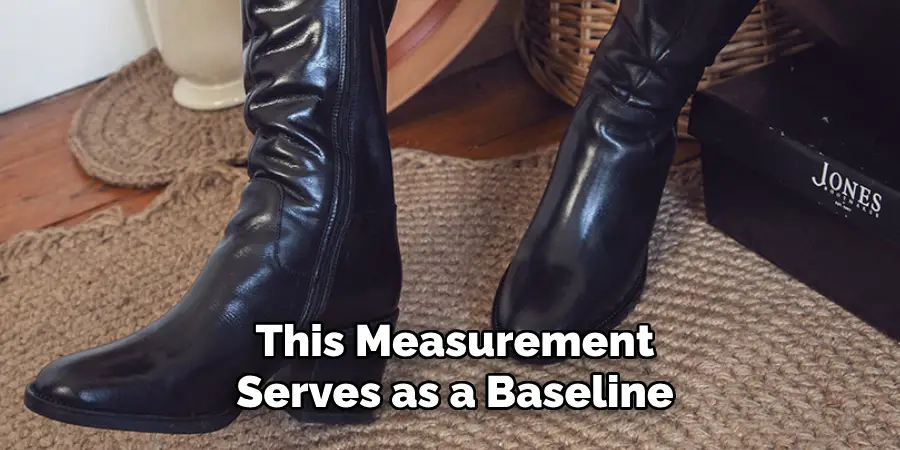
This measurement serves as a baseline for finding boots that will conform well to your unique leg shape and ensure comfort throughout wear.
Step 3. Measure the Height of Your Calf:
Place the measuring tape at the base of your heel and extend it up to the point on your calf where you want the top of the boot to sit. This measurement is crucial, especially for knee-high or over-the-knee boots, as it helps ensure that the boot’s height complements your leg length and provides the desired coverage and protection. Note this measurement and consider it when selecting your boots to ensure the height is flattering and functional.
Step 4. Measure the Boot Opening:
Next, you will want to measure the opening of the boot itself. This step is pivotal in assessing whether the boot will comfortably fit around your calf without being too loose or too tight. To do this, take the measuring tape and measure around the boot’s opening at the top. This measurement should match or exceed the measurement you recorded for your calf circumference. Remember to allow a little extra space for comfort, especially if the boots are made of a less flexible material.
The boot opening should ideally accommodate extras like ski pants or thick socks. Consider how these will adjust the fit in boots with features like laces or elastic panels. Measuring the boot opening ensures that the visual appearance matches the practical usability, providing both style and comfort. This step allows you to confirm that the boots look good and provide a comfortable, snug fit throughout wear.
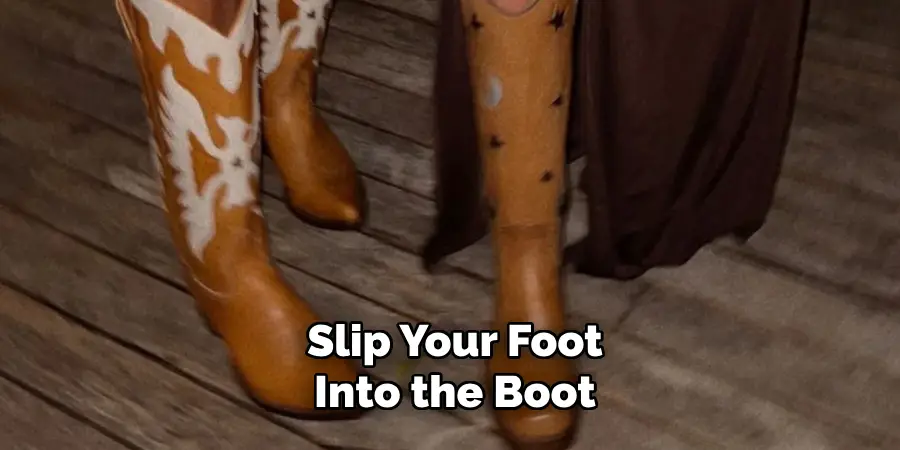
Step 5. Try On the Boots:
Once you’ve confirmed the measurements, it’s time to try on the boots. Slip your foot into the boot and gently pull it over your calf. Pay attention to how the boot slides up; it should feel snug but not overly tight. Walk around in the boots to test their comfort level over time and ensure no pinching or excessive looseness. This step is crucial in assessing if the boots truly match your calf measurements and if any adjustments are necessary. If the fit feels right, you’ll know the boots are well-suited for extended wear while maintaining comfort and style.
Step 6. Check for Adjustability:
After trying the boots, it’s essential to check for any adjustable features that could enhance or customize the fit around your calf. Look for laces, buckles, elastic panels, or zippers. These can provide a more tailored fit, allowing you to adjust the tightness or looseness. Adjustability is especially beneficial for those with calves that are not a standard size or if you plan to wear different thicknesses of socks or pants with the boots.
Make sure to test these features by making slight adjustments and walking around to ensure they serve their purpose effectively. Proper adjustability can significantly increase the versatility and comfort of your boots across various settings and styles.
Step 7. Evaluate the Material:
When assessing the fit and comfort of your boots, consider the material from which they are made. Materials like leather, suede, or synthetic fabrics can affect the flexibility and fit of the boot around your calf. Leather, for instance, tends to stretch slightly over time, which may improve comfort after initial wear, while synthetic materials may have less give. Observe how the material responds as you wear the boots and whether it aligns with your preference for a firmer or more relaxed fit.
This consideration is essential for ensuring the longevity and comfort of your boots, as certain materials will better support prolonged use and maintain their appearance and functionality. Analyzing the material ensures that you choose boots that meet your practical needs and style preferences.
Step 8. Assess Overall Comfort and Style:
After evaluating all previous steps, take a moment to assess the overall comfort and style of the boots. Consider how they feel after walking in them for an extended period and whether they provide the desired support and flexibility. Examine the aesthetic aspect; ensure the boots complement your wardrobe and the occasions they’ll be worn. Comfort should not be sacrificed for style, and vice versa.
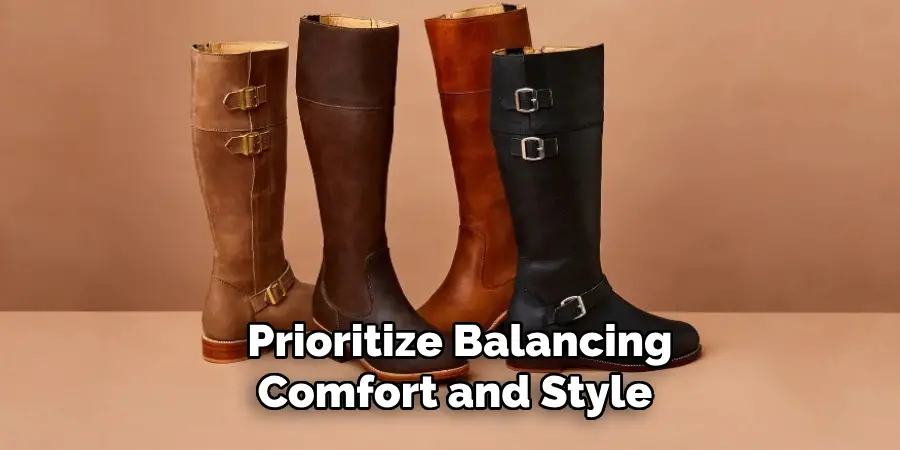
This final assessment allows you to confidently conclude whether the boots are the perfect fit for your needs, ensuring satisfaction in appearance and wearability. Adjust or reconsider if necessary, but prioritize balancing comfort and style for the best footwear experience.
Step 9. Break Them In:
Once you’ve ensured the boots have the right fit, it is essential to break them in before embarking on a long day of wearing. Start by wearing the shoes around your house for short periods, gradually increasing the time each day. This process allows the materials to soften and mold to the shape of your feet and calves, eventually enhancing comfort and fit. Pay attention to any areas that may cause discomfort or rubbing, and make necessary adjustments, such as using boot stretchers or protective pads.
Breaking in your boots helps achieve optimal comfort and prolongs their life by reducing stress on seams and materials during extended wear.
Step 10. Maintain and Care for Your Boots:
Proper maintenance is vital to ensure the longevity and appearance of your boots. Begin with cleaning them regularly using suitable cleaning products for the boot material, such as a leather cleaner or a soft suede brush. After cleaning, apply a conditioner or protector to keep the material supple and resistant to water and stains. Store your boots in a cool, dry place, preferably with boot trees or stuffed with tissue paper to maintain their shape.
Regular care not only preserves the aesthetic appeal of your boots but also ensures they provide lasting comfort and protection. Make a habit of inspecting your boots for wear and tear and addressing issues promptly to prevent further damage. Through consistent maintenance, your shoes will remain a reliable and stylish component of your wardrobe for many seasons.
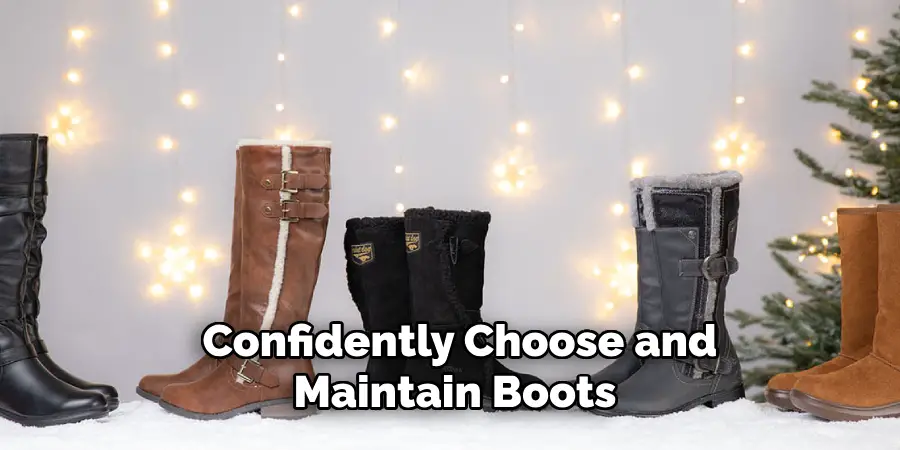
By following these steps, you can confidently choose and maintain boots that perfectly fit your calves while keeping comfort and style at the forefront.
Conclusion
How should boots fit around the calf is crucial to ensuring both comfort and style in your footwear.
Boots that fit well should provide a snug but comfortable embrace around your calves without being too tight or loose. Essential aspects to consider include accurate measurements of your calf width, trying on the boots, assessing adjustability features, and evaluating materials for their flexibility and response to wear. Breaking in your shoes gently is critical to enhancing fit and comfort, while regular maintenance will preserve their appearance and extend their lifespan. A well-fitted boot complements your anatomical needs and wardrobe, making it a reliable choice for various occasions.
Adhering to these guidelines can ensure a harmonious balance of fashion and function in your calf-fitting boots.