
Dyeing leather shoes is an excellent way to breathe new life into an old or worn pair or to customize shoes to fit your personal style. Whether you want to refresh the original color or try something completely new, the dyeing process can be both fun and rewarding. With the right tools and a bit of patience, you can achieve a professional-looking finish that rivals brand-new shoes.
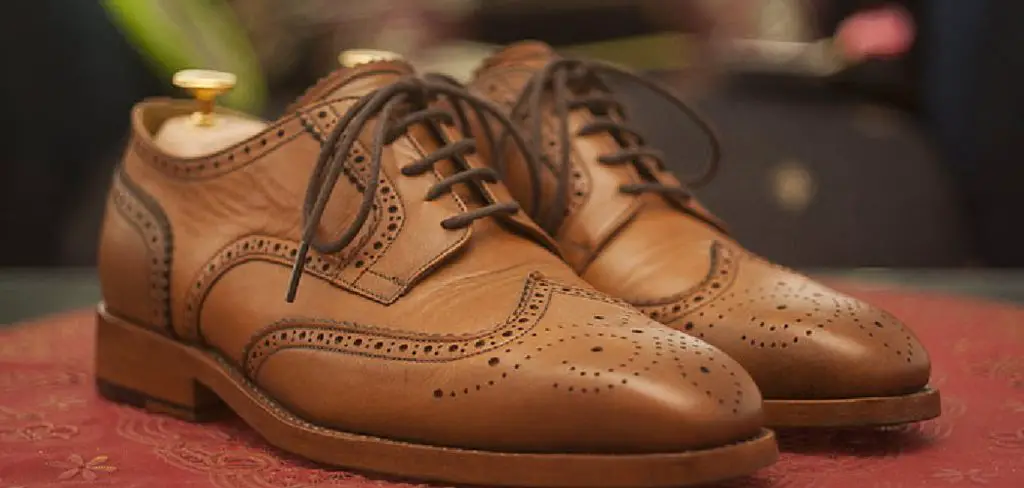
In this guide on how dye leather shoes, we will walk you through the steps required to dye leather shoes, from preparation to the final touches, ensuring your shoes look vibrant and fresh.
Why Dye Leather Shoes?
Dyeing leather shoes can be a great alternative to buying a new pair. It not only saves you money but also allows for more creative control over the color and style of your shoes. Additionally, dyed leather shoes tend to be more durable than painted or spray-painted ones, ensuring that your new color will last for a long time.
It is also an environmentally friendly option, as it reduces the amount of waste produced by purchasing new shoes and supports sustainable fashion practices.
Needed Materials
To dye your leather shoes, you will need the following materials:
- Leather Dye (Specifically Designed for Use on Leather)
- Leather Cleaner
- Sandpaper or a Soft Cloth
- Paintbrushes
- Clean Rags or Paper Towels
- Protective Gloves
- Newspaper or Drop Cloths to Protect Your Work Area
8 Step-by-step Guides on How Dye Leather Shoes
Step 1: Preparing the Shoes
Before you begin dyeing your leather shoes, proper preparation is crucial to achieve the best results. Start by cleaning the shoes thoroughly to remove any dirt, dust, or previous polish. Use a leather cleaner and a soft cloth to scrub the entire surface of the shoes, paying special attention to creases and seams where dirt can accumulate. Once clean, allow the shoes to dry completely.
Next, gently sand the surface of the leather with fine-grit sandpaper. This step helps to remove any remaining finish or coating on the leather, ensuring that the dye adheres evenly. Be careful not to over-sand, as you don’t want to damage the leather. After sanding, wipe the shoes with a damp cloth to remove any sanding residue, and let them dry again.
Finally, place newspaper or drop cloths around your work area to protect it from dye spills. Wear protective gloves to keep your hands clean and free from dye stains. With your shoes prepped and your workspace protected, you’re now ready to move on to the next step: applying the dye.
Step 2: Choosing the Right Dye
When it comes to dyeing leather shoes, not all dyes are created equal. Make sure to select a high-quality leather dye specifically designed for use on leather. Avoid using fabric dyes as they will not adhere properly to leather and can ruin your shoes.
You should also consider the color of your shoes before choosing a dye. If you’re looking to change the color significantly, opt for a darker shade than your desired end result, as the final color may appear lighter when applied. It’s always easier to add more dye if needed than trying to remove excess.
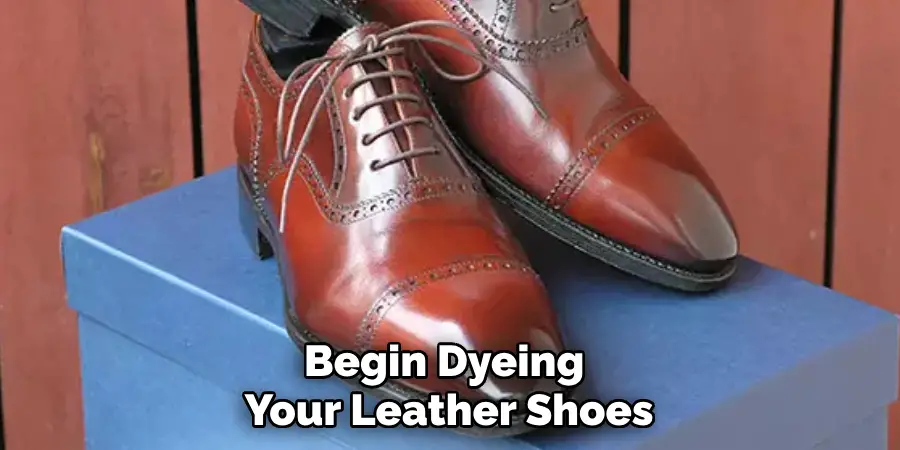
Step 3: Applying the Dye
Using a clean paintbrush, apply the dye evenly to the leather surface in long and even strokes. Start at the back of the shoe and work your way toward the front, making sure to cover all areas thoroughly. For hard-to-reach areas like seams or corners, use a smaller brush or q-tip.
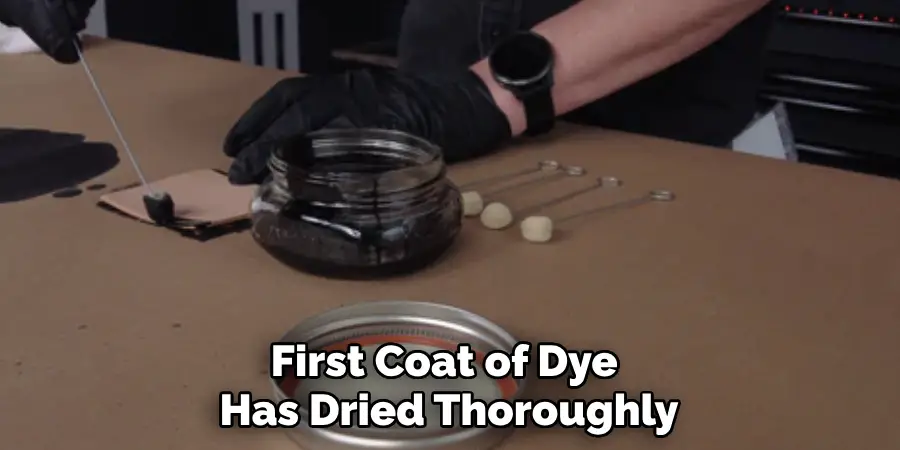
Be careful not to over-saturate the leather with dye as it can cause streaks and uneven coloring. If you notice any excess dye pooling on the surface, quickly wipe it off with a clean rag. Once the first coat is applied, allow it to dry completely before applying a second coat.
Step 4: Adding Additional Coats (If Necessary)
After the first coat of dye has dried thoroughly, evaluate the color of your shoes to determine if an additional coat is needed. If the color appears uneven or lighter than desired, apply a second coat of dye using the same technique as before: even and long strokes, starting from the back of the shoe and working to the front.
Make sure to let each coat dry completely before deciding if another coat is necessary. Typically, two to three coats should be sufficient to achieve an even and vibrant color. Remember, it’s better to apply multiple thin coats rather than one thick coat to avoid streaks and ensure a smooth, professional finish.
Step 5: Dyeing the Soles
If you want to dye the soles of your shoes, it’s essential to use a different type of dye specifically designed for rubber or synthetic materials. Leather dyes will not adhere properly to these surfaces and can cause staining or peeling.
Using a small craft brush, carefully apply the sole dye in thin coats, making sure to cover all areas evenly. Depending on the material, multiple coats may be necessary. Allow each coat to dry completely before adding another layer.
Step 6: Conditioning the Leather
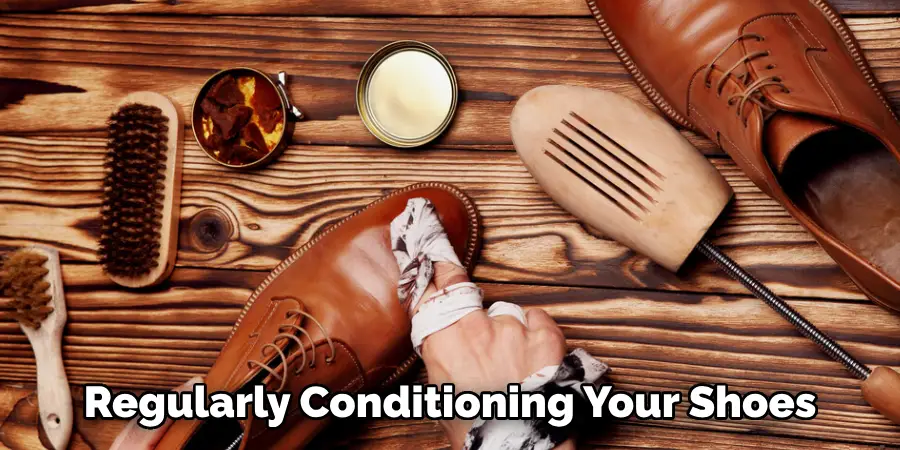
Once your shoes are fully dyed and have dried completely, it’s important to condition them to keep the leather soft and supple. Use a leather conditioner specifically designed for dyed leather, and apply it evenly to the entire shoe using a clean cloth. Let the conditioner soak in for about an hour before wiping off any excess.
It’s a good idea to condition your shoes regularly, even after dyeing, to maintain the leather’s quality and prevent cracking or drying out.
Step 7: Finishing Touches
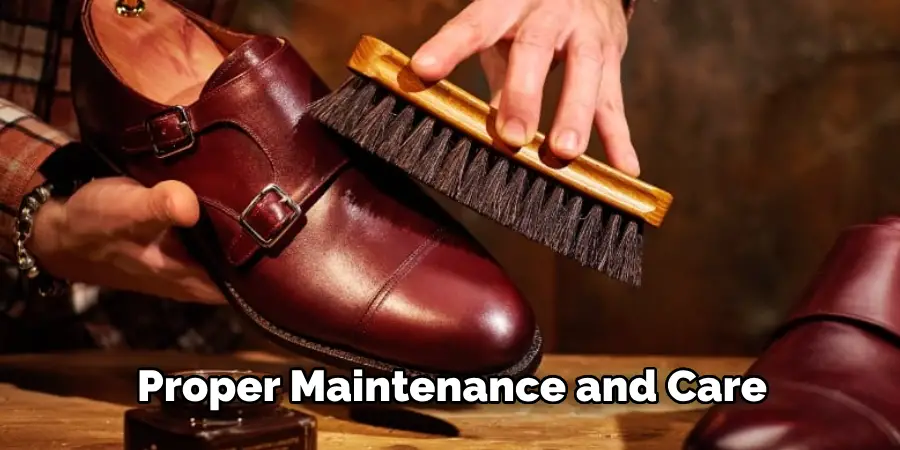
After conditioning, use a clean, dry cloth to buff the shoes and remove any excess conditioner. This will give them a polished finish and ensure that they are ready to wear.
If you want to add more dimension or shine to your newly dyed shoes, you can also apply a top coat of clear shoe polish. Use a soft cloth and apply the polish in circular motions, letting it dry completely before buffing it with another clean cloth.
Step 8: Maintaining Your Dyed Shoes
To keep your newly dyed shoes looking their best, it’s essential to take proper care of them. Avoid wearing them in harsh weather conditions or exposing them to excessive sunlight, which can cause the color to fade.
If you need to clean your shoes, use a soft cloth and warm water to gently remove any dirt or stains. Avoid using harsh chemicals or abrasive materials as they can damage the dye.
With proper maintenance and care, your dyed leather shoes will last for a long time, giving you a unique and personalized addition to your shoe collection. So why not give it a try and unleash your creativity by dyeing your own leather shoes? Remember these steps and tips for successful results every time. Happy dyeing!
Additional Tips
Tip 1: Test the Dye on a Small Area
Before committing to dyeing the entire shoe, it’s wise to test the dye on a small, inconspicuous area. This will allow you to see how the color looks on the leather and make any necessary adjustments before proceeding with the full dyeing process.
Tip 2: Use a De-glazer
A de-glazer can be used before sanding to remove the existing finish from the leather. This ensures better dye penetration and a more even color. Apply the de-glazer with a clean cloth, following the instructions on the product.
Tip 3: Work in a Well-Ventilated Area
Leather dyes often contain strong chemicals and can emit fumes. To protect yourself, work in a well-ventilated area or even outdoors. If necessary, wear a mask to avoid inhaling any harmful fumes.
Tip 4: Protect Non-Leather Parts
If your shoes have non-leather parts such as fabric or metal accents, protect them with painter’s tape before applying the dye. This will prevent any accidental staining and keep your shoes looking neat.
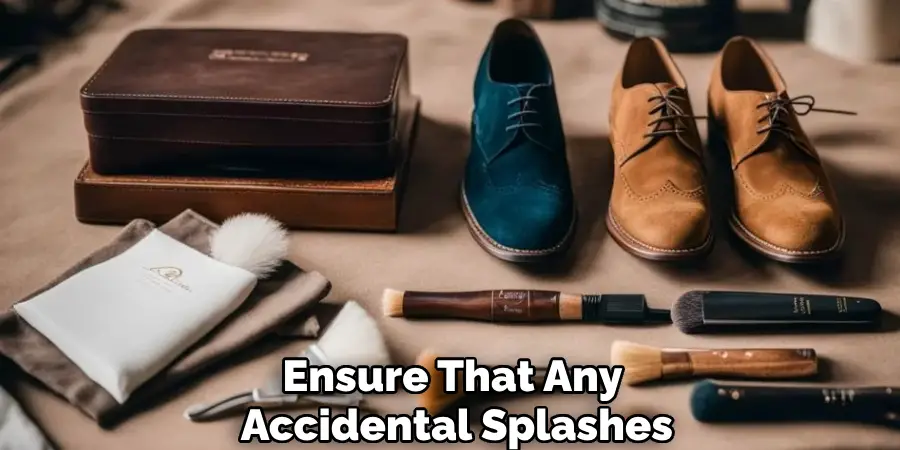
Tip 5: Use Aquaphor or Petroleum Jelly on Soles
If you’re not planning to dye the soles, you can apply a thin layer of Aquaphor or petroleum jelly to them. This will act as a barrier and ensure that any accidental splashes of dye can be easily wiped off.
Tip 6: Practice Patience
Patience is key when dyeing leather shoes. Rushing through the process can lead to mistakes and an uneven finish. Take your time with each step, allowing each coat of dye and conditioner to dry thoroughly before moving on to the next.
By following these additional tips, you can achieve a professional, long-lasting result when dyeing your leather shoes. Enjoy the process and take pride in your handiwork!
Frequently Asked Questions
Q: Can I Dye Any Type of Leather Shoe?
A: Yes, you can dye most types of leather shoes. Just make sure to properly prep and sand the surface before applying the dye for best results. It’s also important to use a leather dye specifically designed for use on leather.
Q: How Many Coats of Dye Should I Apply?
A: This will depend on the desired color and the quality of your dye. Typically, two to three coats should be enough, but you can always add more if needed. It’s better to apply multiple thin coats rather than one thick coat for an even and professional finish.
Q: Can I Dye the Soles of My Shoes?
A: Yes, you can dye the soles of your shoes, but make sure to use a different type of dye specifically designed for rubber or synthetic materials. Regular leather dyes will not adhere properly to these surfaces and can cause damage or staining.
Q: How Do I Maintain My Dyed Shoes?
A: To keep your dyed shoes looking their best, avoid exposing them to harsh weather conditions or excessive sunlight, which can cause fading. Use a soft cloth and warm water to gently clean any dirt or stains.
Regularly conditioning your shoes will also help maintain the leather’s quality. Remember to use a leather conditioner specifically designed for dyed leather. With proper care, your beautiful and unique dyed shoes will last for a long time.
Conclusion
Dyeing leather shoes is a fun and creative way to give new life to old or boring footwear. By following these steps and tips on how dye leather shoes, you can achieve professional-looking results that will make your shoes stand out in a crowd. Just remember to properly prep, choose the right dye, apply multiple thin coats, and take proper care of your dyed shoes to enjoy them for years to come.