
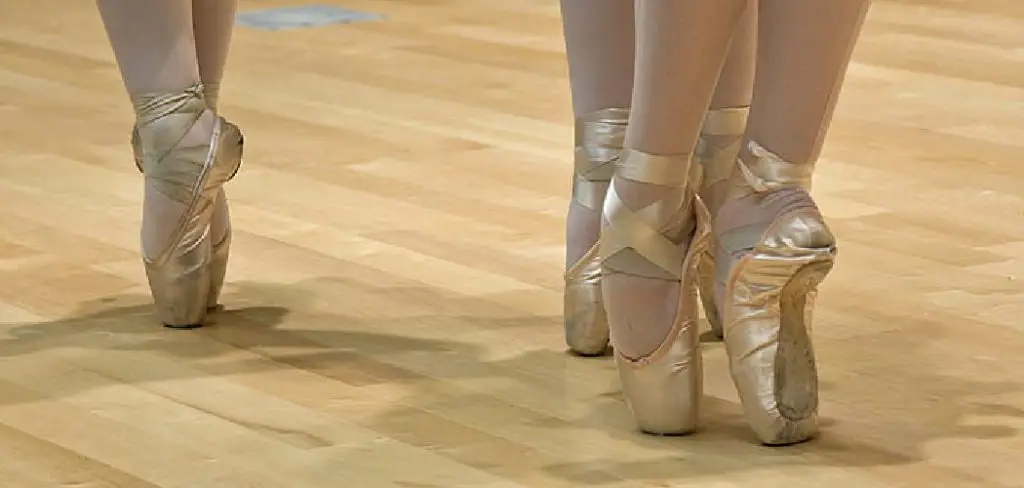
Are you tired of wearing the same old pair of pointe shoes? Or maybe you just want to add a pop of color to your performance.
Dyeing pointe shoes allows dancers to customize their footwear to match costumes or achieve a desired aesthetic. While commercially available shoes commonly come in shades of pink or beige, dancers can adjust the color to suit various performance needs. The process involves carefully selecting materials, such as fabric dye or specialized shoe paint, and attention to detail to ensure an even and smooth finish. Whether for a professional performance or a personal project, dyeing pointe shoes offers a creative way to personalize dancewear and enhance stage presence.
This guide will walk you through the step-by-step process of how do you dye pointe shoes, from preparation to final touches.
What Will You Need?
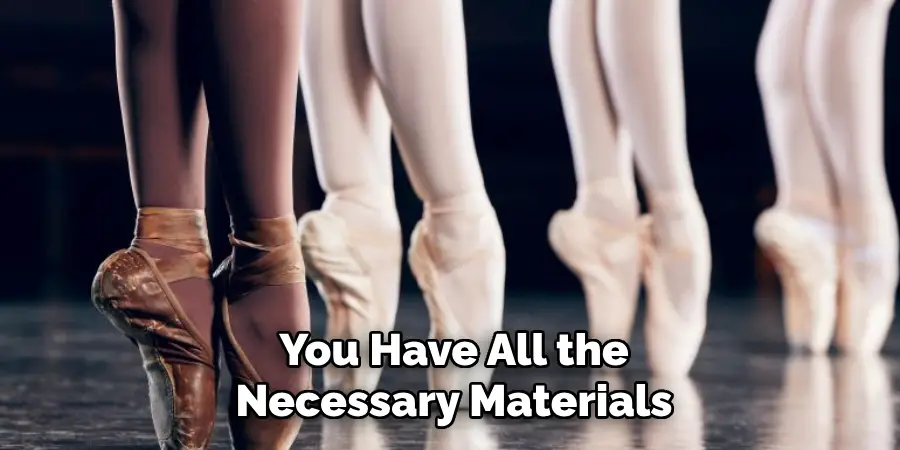
Before you begin, make sure you have the necessary materials and equipment. This includes:
- Pointe shoes (preferably satin or synthetic satin)
- Fabric dye or specialized shoe paint
- Rubber gloves
- Old towel or rags for clean-up
- Newspaper or plastic sheeting to protect work surface
10 Easy Steps on How Do You Dye Pointe Shoes
Step 1: Preparing Your Workspace
Before beginning the dyeing process, setting up a workspace that accommodates the potential for spills and splatters is essential. Choose an area with good ventilation to ensure you are not inhaling any fumes from the dye or paint. Cover the table or floor with newspaper or plastic sheeting to prevent accidental drips or stains. Lay out an old towel or rags nearby for quick clean-up in case of spills.
Make sure you have all the necessary materials within reach, including the dye, gloves, and pointe shoes, to streamline the process and minimize movement once you start. By organizing a clean and safe workspace, you can focus on achieving the best results for your customized pointe shoes without distraction or mishap.
Step 2: Testing the Dye
Before applying the dye to your pointe shoes, it’s crucial to test it on a small, inconspicuous area of the shoe fabric or a spare piece of satin, if available. This test will help you determine how the dye interacts with the material and allow you to adjust the color concentration if needed. Mix the dye according to the manufacturer’s instructions and apply a small brush or cotton swab to the test area.
Wait for it to dry completely to evaluate the final color. This step ensures you achieve the desired shade and prevents unexpected results during the application.
Step 3: Preparing the Pointe Shoes
Once you are satisfied with the test color, it’s time to prepare the pointe shoes for the dyeing process. Begin by gently cleaning the surface of the shoes with a damp cloth to remove any dirt or residue that might affect the evenness of the dye. Ensure that the shoes are completely dry before proceeding. Next, if the shoes have elastic bands or ribbons, you do not wish to dye, secure them using masking tape or remove them entirely if possible.
This preparation will help ensure a smooth and consistent application of the dye, helping you achieve a professional-looking finish.
Step 4: Mixing the Dye
After preparing your workspace and pointe shoes, it’s time to mix the dye according to the package instructions. Use a container you don’t mind staining, as the dye can permanently discolor it. Carefully measure the required amount of dye and mix it with water or any other recommended solution to create the desired shade. Stir the mixture thoroughly to ensure the color is consistent throughout without clumps. Once the dye is ready, put on rubber gloves to protect your hands from staining during the application process.
Having the dye adequately mixed and ready will help you apply it evenly, ensuring a vibrant result that will enhance your performance on stage.
Step 5: Applying the First Coat
With your dye mixed and your gloves on, you are now ready to apply the first coat of dye to your pointe shoes. Start using a clean sponge brush or paintbrush to dab the dye onto the shoe, working in small sections to ensure even coverage. Begin at the toe and work toward the heel, applying the dye in thin, consistent layers. Be cautious not to saturate the material, as this can lead to uneven blotches or dripping. Let the first coat dry completely before assessing if additional layers are needed.
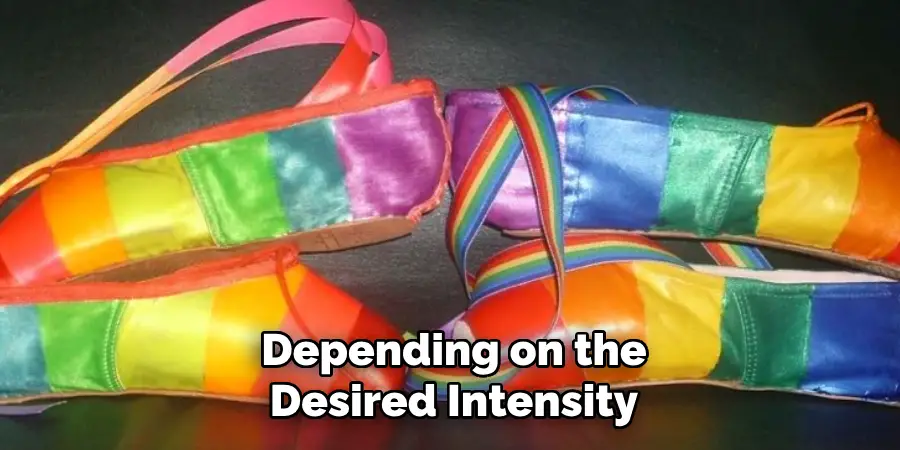
Depending on the desired intensity and the dye color, you may need multiple coats to achieve the perfect shade. Remember to allow each coat to dry fully to build up a rich, even color without muddying the finish.
Step 6: Applying Additional Coats
After the first coat has dried completely, evaluate whether the color intensity meets your expectations. If a deeper hue is desired, apply additional coats as needed. Use the same sponge brush or paintbrush to add more layers, ensuring each coat is thin and even to avoid dripping or blotching. Allow each coat to dry thoroughly before applying the next. Depending on the initial color of the shoes and the shade you aim to achieve, two to three coats may be necessary. Take your time during this process, as careful application will ensure a smooth, professional-looking finish that elevates your performance aesthetic.
Step 7: Sealing the Color
Once you are satisfied with the color and have allowed all coats to dry thoroughly, it is time to seal the dye to ensure its durability during performances. Use a clear fabric sealant spray explicitly designed for textiles to lock in the color and protect it from wear and fading. Hold the can about 6-8 inches from the shoes and apply an even, light coat, covering all dyed surfaces. Allow the sealant to dry completely in a well-ventilated area. Sealing the color will give your pointe shoes a professional finish and keep them looking vibrant and polished through repeated use.
Step 8: Attaching the Ribbons and Elastic
After sealing the dye, it’s time to reattach any ribbons or elastics that were removed or protected during the dyeing process. If you haven’t already, carefully remove the masking tape used to secure parts not dyed. Position the ribbons or elastics in their original placements, ensuring they are securely fastened. You may sew them back onto the shoe, using a needle and thread color that matches your dyed shoes for a seamless look.
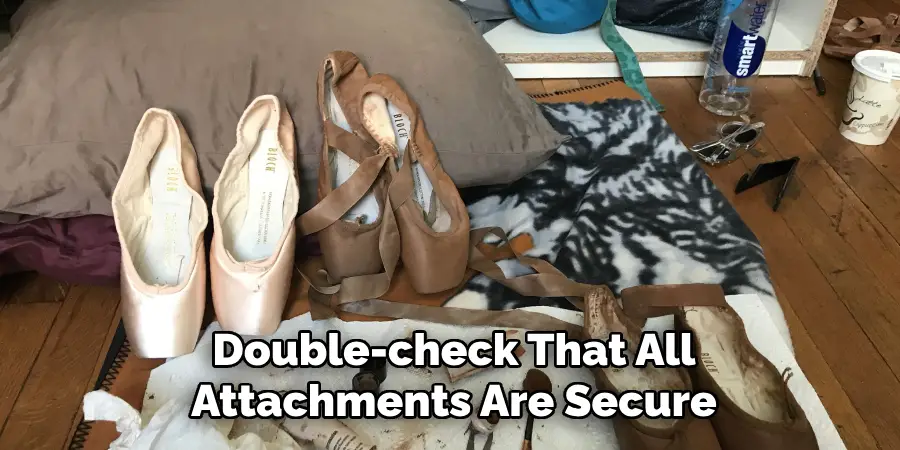
Double-check that all attachments are secure to provide proper support during use. Once the ribbons and elastic are back in place, your customized pointe shoes are ready to debut, striking a perfect blend of form and function on stage.
Step 9: Final Touches
With the ribbons and elastics securely in place, it’s time for the final touches to ensure your pointe shoes look and feel their best. Begin by gently wiping the entire surface of the shoes with a clean, dry cloth to remove any excess dye or dust that may have accumulated during the process. Inspect the shoes closely to confirm that the color is even and that no spots or blemishes remain.
If desired, you can add embellishments or decorative accessories, such as small sequins or beads, to personalize and enhance the appearance of your pointe shoes further. Ensure any additional decorations are securely attached to withstand the rigors of dancing. Finally, store your newly customized pointe shoes in a dry, cool space until they are ready for their grand performance.
This final step will prepare you to step onto the stage with confidence, showcasing a pair of pointe shoes that are as unique and expressive as your dancing is.
Step 10: Storing and Maintaining Your Dyed Pointe Shoes
Proper storage and maintenance are crucial to preserving your freshly dyed pointe shoes’ vibrant color and performance quality. Always store your boots in a cool, dry place, away from direct sunlight, which can cause the colors to fade over time. When not in use, place them in a breathable shoe bag or container to protect them from dust and moisture while allowing air circulation.
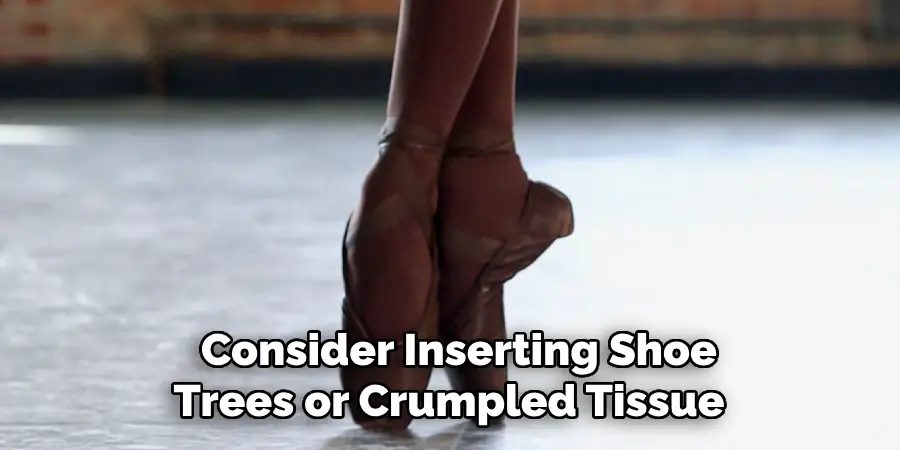
To maintain the shape and structure of the shoes, consider inserting shoe trees or crumpled tissue paper when storing them. Regularly inspect the boots for signs of wear and perform minor repairs to extend their lifespan. By taking these steps, you can ensure your pointe shoes remain in excellent condition, ready to support your best performances with style and flair.
Following these steps, you can successfully dye your pointe shoes and create a customized look that adds personality and flair to your performances.
Conclusion
How do you dye pointe shoes? This artful process offers the exciting opportunity to personalize and enhance your performance with a bold new look.
Patience and attention to detail are essential as you navigate each step, from carefully preparing the shoes to applying the final coats of dye and sealing for durability. This meticulous approach ensures that the dye adheres effectively, resulting in a vibrant finish that withstands dance demands. By effectively sealing the color and maintaining your dyed pointe shoes properly, you contribute to their longevity, ensuring they remain a cherished part of your dance ensemble.
Ultimately, the effort invested in customization speaks to your unique style and passion, allowing you to step onto the stage with confidence and flair.