Are you planning a winter hike or trekking through deep snow? Snowshoes are essential equipment that can make your journey much easier and more enjoyable. But have you ever stopped to wonder how do snowshoes work?
Snowshoes are ingenious devices that enable travel across snowy terrain by distributing a person’s weight over a larger area. This distribution prevents the wearer from sinking into the snow, making movement more accessible and more efficient. Traditionally made from a wooden frame and laced with rawhide, modern snowshoes often consist of lightweight materials such as aluminum and synthetic fabrics.
The design of snowshoes incorporates a wide footprint, which is critical in increasing the surface area and reducing the impact of snowshoe load on the snow. Additionally, the bindings keep the foot securely in place, allowing for a natural walking motion while minimizing fatigue.
What Will You Need?
To make the most out of your snowshoeing experience, you will need a few essential items in addition to your snowshoes. These include the following:
- Appropriate Footwear: To prevent slipping and keep your feet dry while snowshoeing, it is essential to wear waterproof boots with good traction.
- Trekking Poles: These handy tools provide balance, stability, and support while traversing rugged terrain.
- Warm Clothing: Dress in layers to avoid overheating and ensure you have enough insulation against the cold.
- Gaiters: Snowshoeing often involves deep snow, and gaiters will help keep your lower legs warm and dry by preventing snow from getting inside your boots.
- Backpack: Always bring a backpack to carry extra clothing, snacks, water, a first aid kit, a map, a compass, and other essentials.
Once you have all the necessary gear, put on your snowshoes and hit the trails!
10 Easy Steps on How Do Snowshoes Work
Step 1. Select the Right Size:
Choosing the correct size of snowshoes is crucial for comfort and efficiency while trekking through snow. The right size depends on the user’s weight, including the gear they’ll be carrying, as well as the type of snow terrain they plan to traverse.

Generally, larger snowshoes are ideal for heavier loads and softer, powdery snow, providing a greater surface area and better flotation. Conversely, smaller snowshoes can be more maneuverable and are better suited for packed snow conditions.
Most manufacturers offer size charts to help select the appropriate size based on weight ranges. When in doubt, consult these guides or seek advice from an expert to ensure a choice that best supports your snowshoeing adventure.
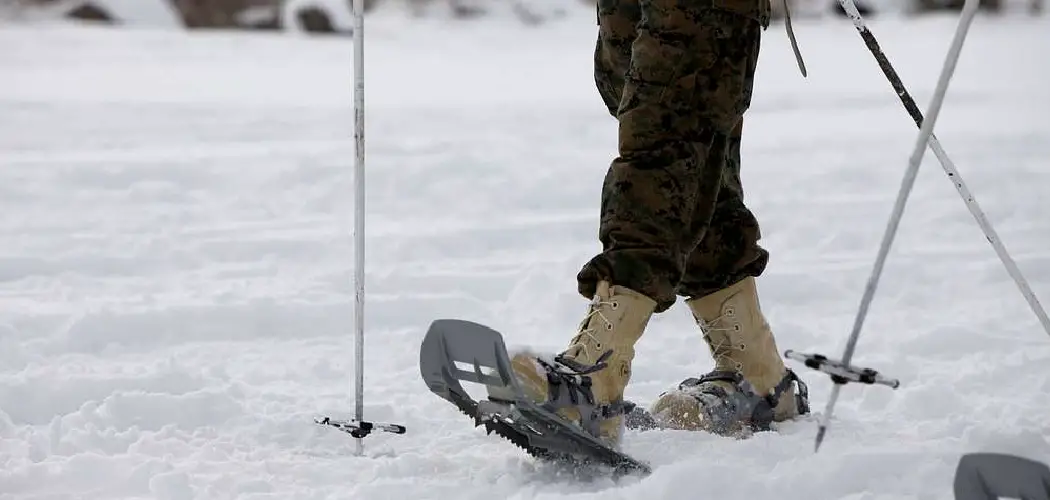
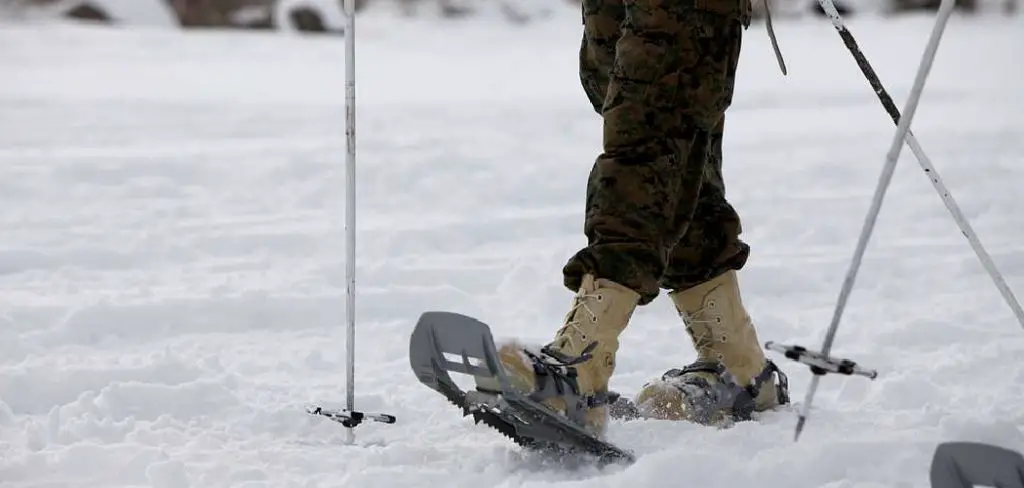
Step 2. Master the Bindings:
Once you’ve selected the right size of snowshoes, it’s time to master the bindings, as they are essential for a secure and comfortable fit. Begin by placing the ball of your foot over the pivot point of the snowshoe, ensuring even weight distribution. Adjust the front strap to secure your toe box snugly while allowing for natural ankle movement.
Next, fasten the heel strap to prevent backward slippage as you walk. Modern snowshoes often feature quick-release bindings or ratchet systems designed for easy adjustment. Make sure all straps are tight but do not restrict circulation. Proper binding adjustments can significantly enhance control and stability as you navigate snowy trails.
Step 3. Practice Walking Techniques:
With your snowshoes properly fitted, it’s time to get accustomed to walking in them. Start by lifting your knees higher than usual, a necessary adjustment since snowshoes can be bulkier than regular footwear. Focus on a natural forward motion, placing your foot flat on the snow to engage the snowshoe’s full surface area.
This technique helps to maintain balance and prevent tripping over the snowshoe edge. You’ll also need to adapt your stride, walking slightly wider than normal to avoid stepping on the opposite snowshoe. Practicing on flat, open spaces can help you become comfortable before tackling more challenging terrains. Use trekking poles for additional stability, especially on uneven surfaces or slopes.
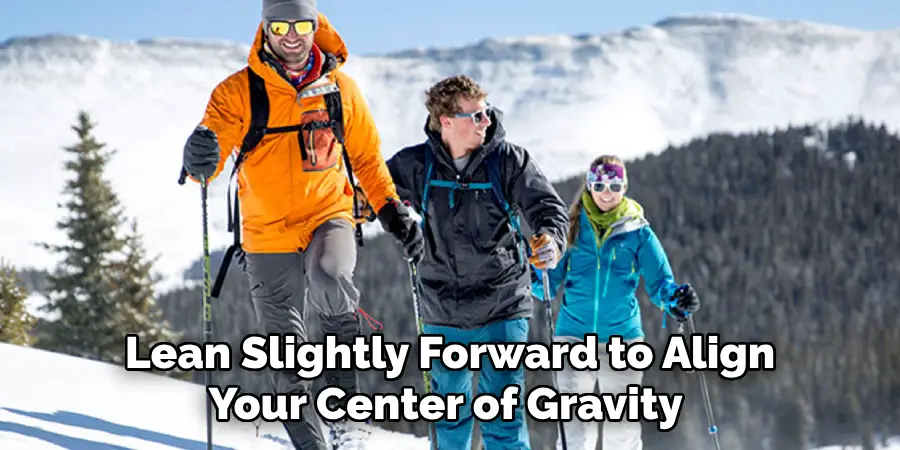
Step 4. Navigating Uphills:
When you encounter uphill terrain, it’s essential to adjust your technique to maintain efficiency and reduce strain. Lean slightly forward to align your center of gravity with the slope. Engage the crampons or cleats located beneath your snowshoes for added traction, which is essential for gripping icy or hard-packed snow surfaces.
Use a technique called “step-kicking,” where you gently dig the front of your snowshoe into the snow to create a stable foothold. Additionally, make deliberate use of your trekking poles by planting them firmly in front of you to help propel your body upward. Shorten your stride to maintain balance and rhythm as you ascend, allowing for a steady and controlled climb.
Step 5. Navigating Downhills:
Descending on snowshoes requires a shift in your weight and technique to ensure safety and control. Start by leaning back slightly and bending your knees to lower your center of gravity. This position helps maintain balance and reduces the chances of slipping. Place your heel down first, allowing the crampons to grip the snow firmly, then roll your foot forward.
Keeping your strides short and deliberate is crucial to manage speed effectively. Use your trekking poles for additional control, planting them slightly behind your body to provide extra stability and support as you navigate the slope. Remember to maintain a steady pace and avoid leaning too far forward, which could lead to losing balance.
Step 6. Traversing Across Slopes:
Traversing skills become vital for maintaining your balance and momentum when facing slopes or uneven terrain. Start by angling your snowshoes perpendicular to the hill, positioning your uphill snowshoe slightly higher than the downhill one.
This technique helps maintain your body’s alignment parallel to the hill, reducing the risk of slipping. Dig the edges of your snowshoes into the snow to anchor yourself securely. Use your trekking poles actively, increasing the uphill pole for added stability and leverage. Keep steady and avoid rushing, ensuring each step is deliberate and grounded.
Step 7. Handling Deep Snow:
When navigating through deep snow, you must adjust your techniques to maintain efficiency and prevent excessive fatigue. Begin by adopting a broader stance to stabilize yourself and avoid sinking too deeply with each step. Lift your knees higher to bring the snowshoe entirely out of the snow with each stride, minimizing drag.
Use a shuffling motion to move forward, which helps compact the snow underfoot and provides a firmer surface. Incorporating trekking poles can offer additional balance and aid in propelling you forward. It’s important to pace yourself and take breaks as needed, as moving through deep snow requires more energy and endurance. Adjust your pace to conserve energy over long distances, and enjoy the tranquility of the untouched winter landscape.
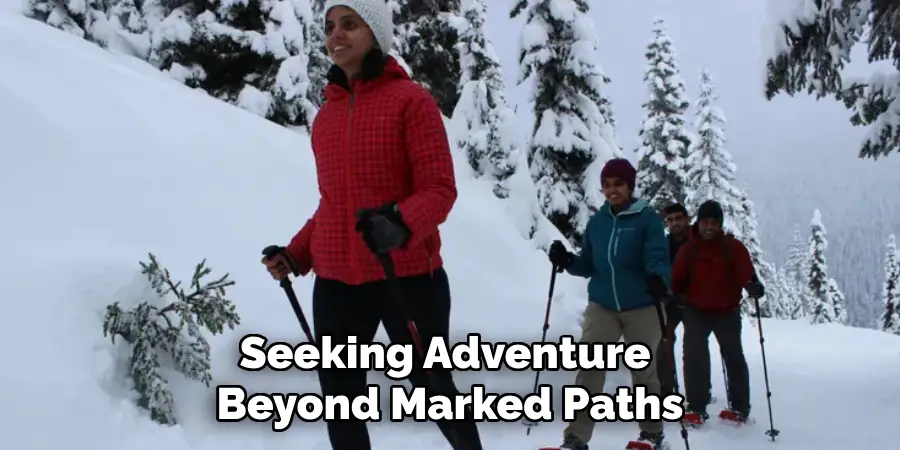
Step 8. Tackling Off-Trail Exploration:
For those seeking adventure beyond marked paths, off-trail snowshoeing offers a rewarding experience but requires heightened awareness and preparation. Study the area’s topography and potential hazards, such as unstable snow or hidden obstacles. To keep your bearings, map out a route that considers elevation changes and natural landmarks.
Carrying a GPS device or compass is crucial to aid navigation in unfamiliar territories. Equip yourself with adequate survival gear, including extra clothing layers, water, and a first-aid kit. Use trekking poles for balance and to help in testing uncertain snow depth. For safety, always inform someone of your planned route and expected return time. As you venture off the beaten path, be mindful of wildlife and tread respectfully to preserve the pristine environment.
Step 9. Exiting the Trail Safely:
As your snowshoeing adventure ends, it’s important to exit the trail safely and responsibly. Begin by gradually slowing down your pace as you approach the trailhead, allowing your body to adjust and cool down. Double-check all your gear to ensure nothing is left behind, paying close attention to essential items like trekking poles and personal belongings.
Before removing your snowshoes, find a flat, stable area to unfasten the bindings safely. Shake off any excess snow from your equipment to prevent moisture buildup that can lead to rust or equipment damage. Finally, reflect on the day’s journey, acknowledging the skills you’ve honed and the natural beauty you’ve experienced. Always leave the area as you found it, preserving the landscape’s integrity for future adventurers.
Step 10. Practicing Leave No Trace Principles:
When snowshoeing, it’s crucial to respect the environment and practice Leave No Trace principles to minimize your impact on nature. Always carry out whatever you bring in, including packaging, food waste, and personal items. Make an effort to remain on existing paths or durable surfaces to help preserve the natural habitat.
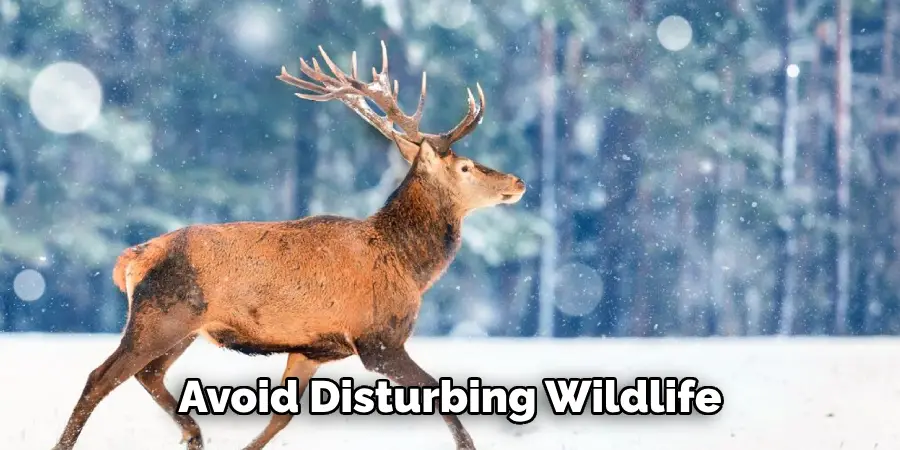
Avoid disturbing wildlife by keeping a respectful distance and minimizing noise. If you encounter any litter left by others, do your part by picking it up and carrying it out. This practice protects the environment and sets a positive example for other outdoor enthusiasts.
By following these steps and practicing responsible snowshoeing techniques, you can fully enjoy the exhilarating experience of trekking through winter landscapes.
Conclusion
Snowshoes are ingenious tools that harness the principles of flotation and traction to facilitate travel over snow-covered terrain.
By distributing a person’s weight over a larger surface area than a regular shoe, snowshoes prevent deep sinking into the snow, enabling more accessible and efficient movement. The structure of snowshoes, with their lightweight frames and durable decking, provides the necessary support and buoyancy.
Additionally, integrated crampons or cleats enhance grip on icy or steep surfaces, offering stability and control in various conditions. Understanding and employing essential techniques, such as adjusting stride length and utilizing trekking poles, further optimize the use of snowshoes.
Hopefully, the article on how do snowshoes work has shed light on the science and practicalities of this winter activity. Happy trails!